 Which tools for workingleatherwork? In order to know which tools you should use, it is first of all essential to know your needs, what do you want to achieve?
There is no one way to work with leather, but many. Each leather craftsman develops his own style and technique to serve his creativity and needs.
And of course, depending on the type of leather chosen, certain tools will be more suitable than others.
Two expert customers: Mr Eric Deneken - Eden Esprit Cuir & Mrs Laetitia Lauwerie - Sellerie Bourrellerie Laetitia, explain the different tools for cutting leather, stitching leather, gluing leather, dye leather and leather slices, and finally for embossing leather.
Which tools for cutting leather?
- Half-moon knife :
Emblematic knife of the leather craftsman. Its rounded shape and its two sharpened points make it possible to make cuts and to trim the leather (reduce the thickness of the leather).
Advice from our experts:
The half-moon knife is efficient and inexpensive, unlike the mechanical knife which is also efficient but more expensive and is mainly intended for thicker and firmer leathers.
The half-moon knife is a suitable tool for saddlery as the leathers are thicker.
- Trimming knife :
It removes material from the leather to reduce its thickness.
- Strap cutter :
This tool makes it easy to cut leather strips to the desired width
- Shade-square :
It allows the edge of the leather to be rounded for aesthetic purposes and comfort.
- Shutter :
Making a border around the edge of a piece of leather for decorative purposes or as a guide for saddle stitching.
- Dry point compass :
It can be used as a guide for saddle stitch sewing.
Expert advice:
The formoir and the dry point compass have the same function, but the dry point compass cannot be used for decorative purposes.
- Leather punch :
A tool for making holes, especially the one for the buckle's pin.
- Cookie cutter :
Cookie cutters can be of different shapes (round, oval, etc.). They are used to easily pierce your leather before fitting accessories or to get a clean cut of your leather. For punching cookie cutters, a cutting plate is recommended.
- Iron cookie cutter :
Iron cookie cutter are used to trim or cut neatly and symmetrically the ends of belts and to cut the corners of a piece of leather.
- Leather scissors :
The ideal tool for cutting hides, these scissors have a smooth blade (placed on the grain side of the hide) and a serrated blade (which ensures a clean cut on the flesh side) of the hide.
- Cutting plate and impact hammer :
They are used, for example, in the use of cookie cutters.
Advice from our experts:
It is very important to sharpen these tools for leather work. Depending on the use, maintenance sharpening with polishing paste can be daily or more. A tool that cuts correctly will limit the risk of mistakes and injuries! This sharpening can be done with e.g. abrasive paper, polishing paste or a sharpening stone.
Which tools for sewing leather?
Sewing can be done by hand or machine.
What are the differences? Hand sewing is stronger but slower. Machine sewing is faster if the machine is well adjusted, but machine sewing is less robust.
- Sewing clamp :
Another emblematic tool in leather work is a large wooden clamp that is placed between the legs of the seated craftsman. It is used to hold (by pressing the legs) the pieces to be sewn together, and allows both hands to be free to sew with the saddle stitch, hence the name "saddle stitch clamp".
Our experts' advice:
The clamp should be protected at the jaws by 2 pieces of leather, which will also help to hold the sewing pieces.
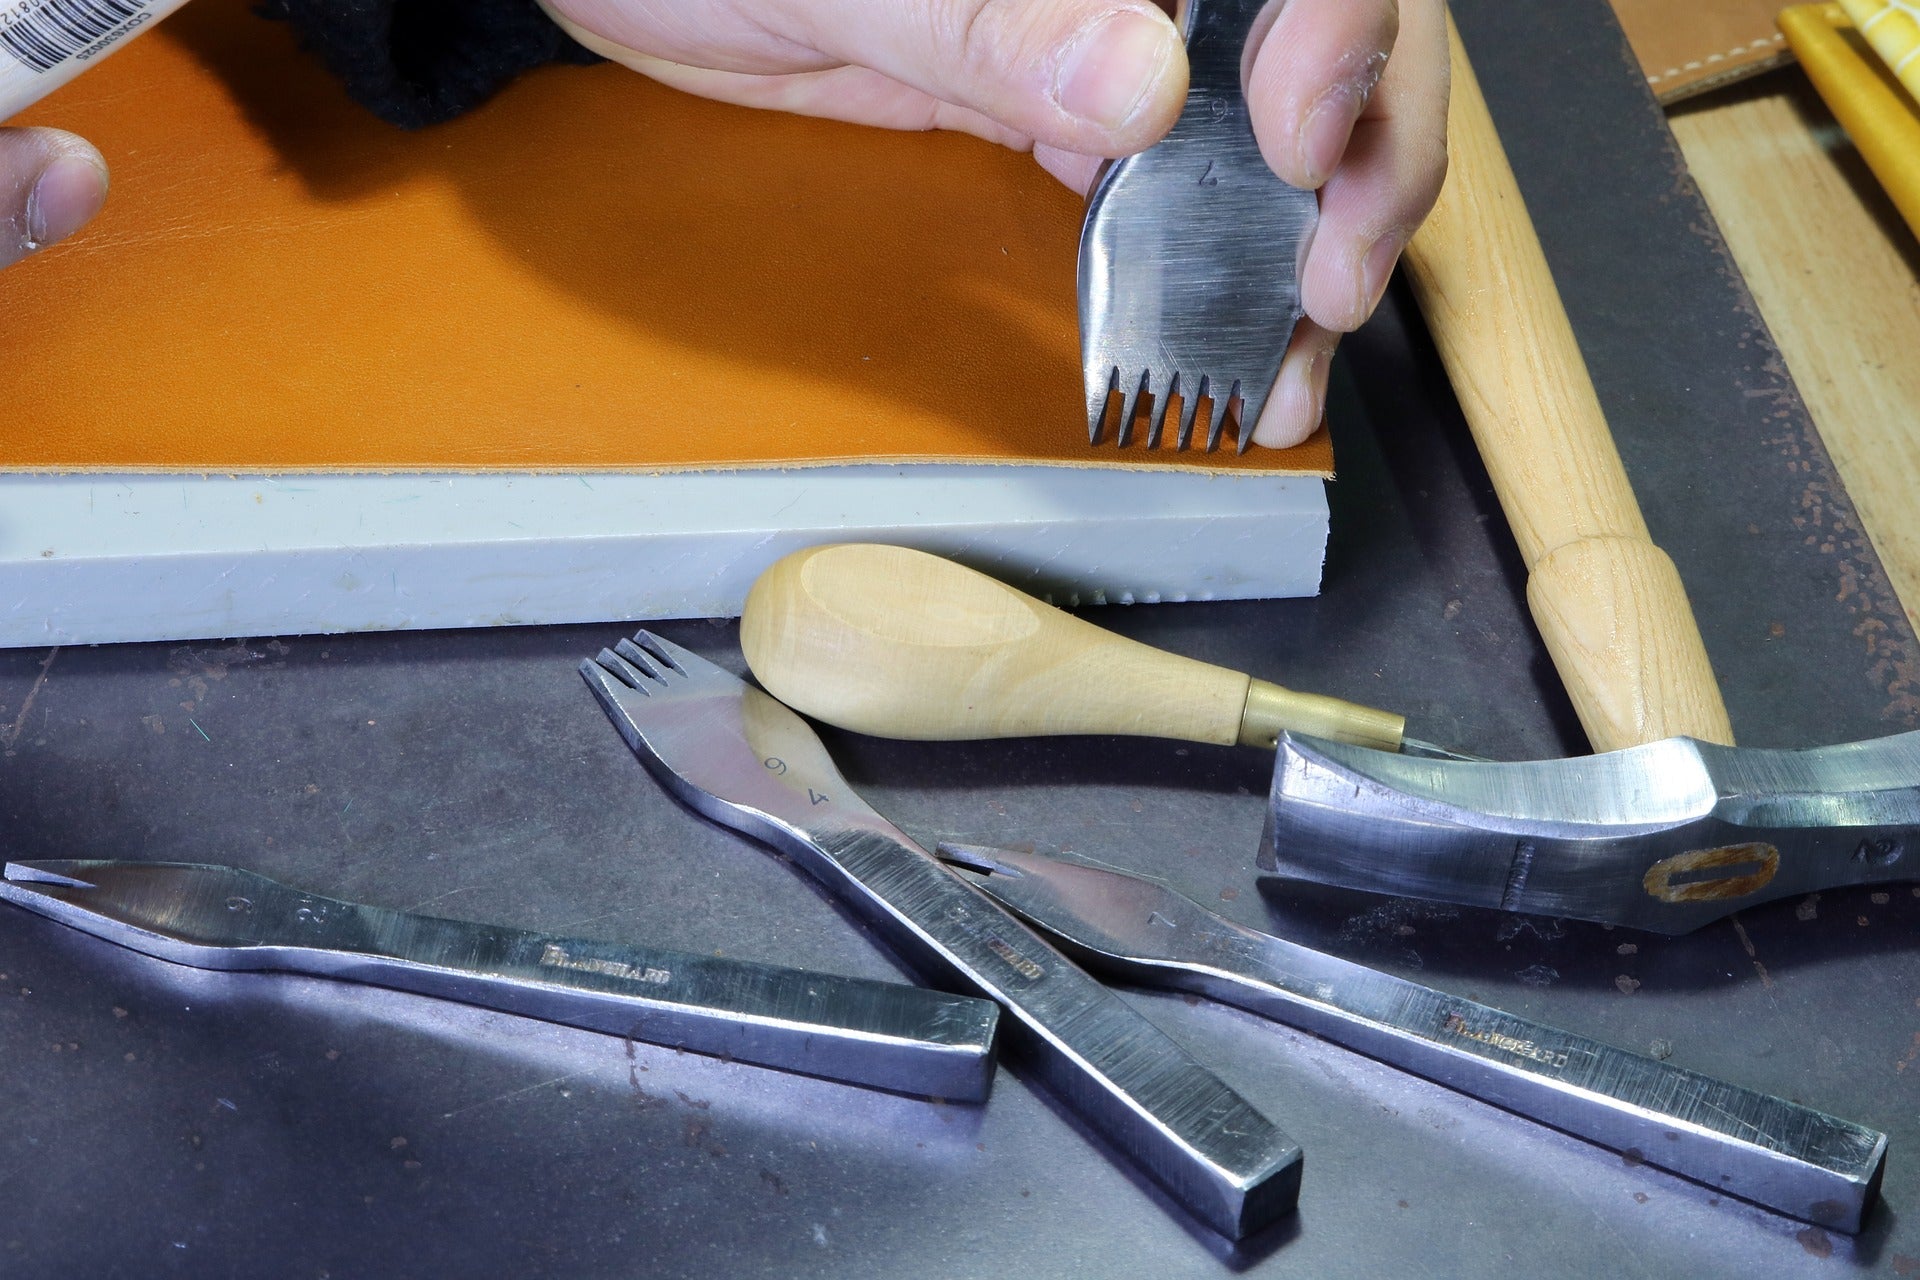
- Roller claw :
This is a small toothed wheel with a handle that marks the stitches at regular intervals. These marks are then pierced to make a saddle stitch.
- Striking claw :
The striking claws will allow you to make regular stitches to obtain beautiful seams or lacings. The smaller the centre distance, the tighter the stitches.
Our experts' advice:
If you are going to invest time in learning to sew, it is advisable to use the wheel claw. For "one-off" work, drilling will be safer with a knocking claw.
- Shutter :
This tool can be made of wood, horn or plastic. Their purpose is to make a line parallel to the edge of the workpiece and thus serve as a guide for the sewing.
- Burnisher :
It can also be used to make a parallel line when the form is not able to pass.
- Needle :
For hand sewing fine needles with rounded tips are suitable. Saddle stitch requires two needles, one at each end of the thread. Flat needles are recommended for lacing.
- Awl :
The sharpened awl (known as the "tongs" or "diamond" awl) is used to pierce the leather for saddle stitching. The round awl is used to enlarge holes already drilled without the risk of cutting the sewing thread.
Advice from our experts:
Reams should be sharpened before use. For reams with pliers, it is not advisable to have a round handle, but should have faces to help position the awl.
- Thread :
The thread used for saddle stitch is linen thread. Before sewing, this thread must be waxed with beeswax and a needle attached to each end. This creates a waxed thread.
- Beeswax :
It allows the stitching threads to be waxed to protect them against wear and tear, but also to treat the edges of the leather to increase its longevity and aesthetics.
- Vinyl glue :
Used to hide linen threads during sewing stops.
Advice from our experts:
Before sewing on a glued area, wait about 1 hour, otherwise the glue may come out with the seam thread.
- Harness hammer :
A small, rounded hammer used to hammer the seams to close the holes and to crush the thread in the wax to protect it.
Which tools for gluing leather?
- Contact glue :
It is used to glue a lining
Advice from our experts:
Glue the two surfaces together, wait about 10 minutes and then bring the two pieces together. Be careful, you have no room for manoeuvre. Once in contact it is stuck!
You can glue the two surfaces and put them in contact after 1 minute to obtain a possibility of adjustment but in this case the gluing is less strong.
- Bone glue :
It is used to harden leather. This is one of the methods using protein.
- Scraper :
Used to prepare leather surfaces - especially grain - and to obtain a better adhesion when using adhesives.
- Burnisher :
The burnisher can be used to shape and assist in the placement of parts during gluing.
- Glue pot and brush:
There are traditional, silicone and plastic brushes.
- Crepe eraser :
The crepe is used to remove excess contact cement.
Advice from our experts:
If you use traditional brushes, they will only be used for this task as it will be impossible to clean them completely.
You can use a silicone brush, which is more practical for precision gluing and very easy to clean as the glue, once dry, can be removed very easily.
Which tools for dyeing leather and leather edges ?
Depending on the type of tanning, the work will not be done in the same way.
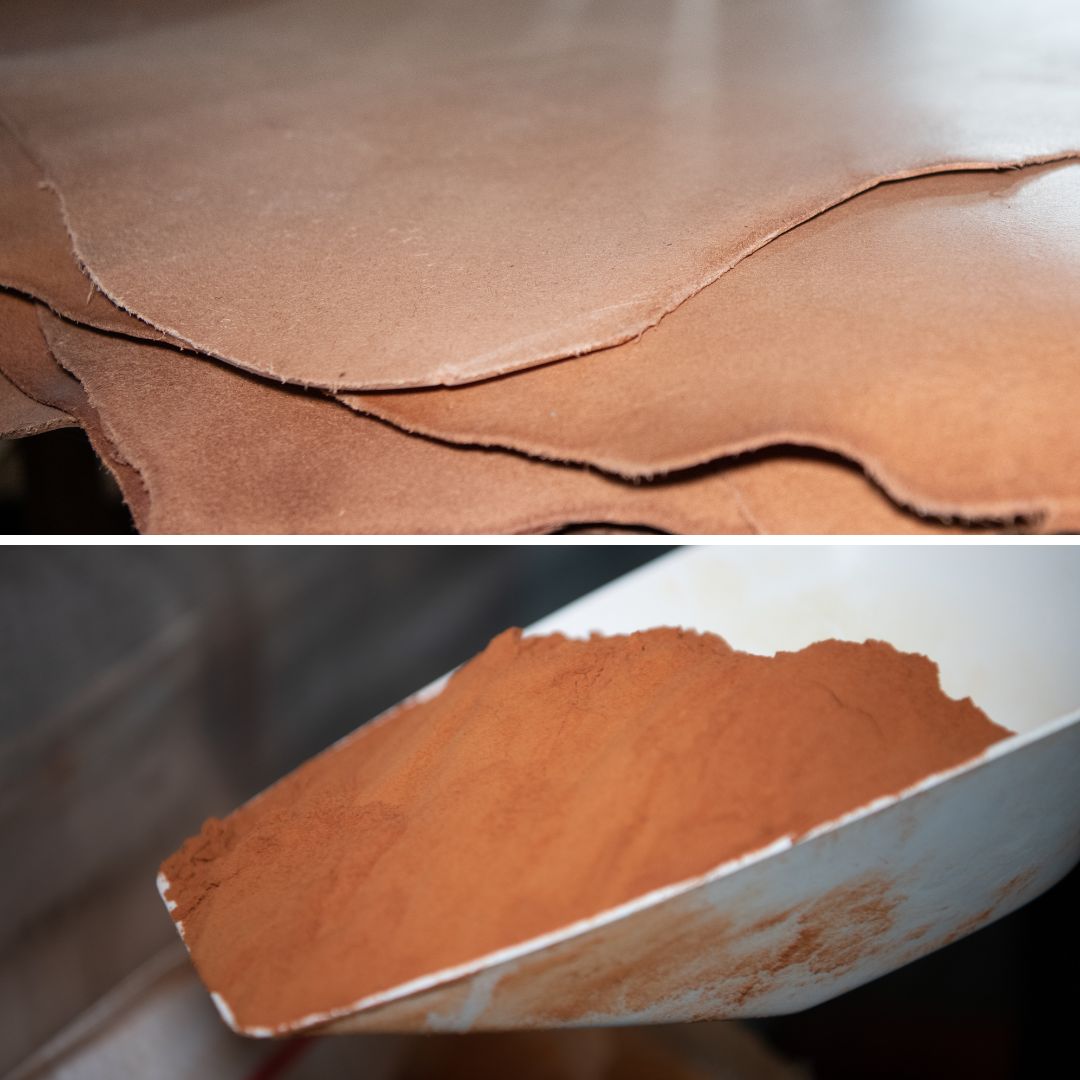
For leather with vegetable tanning leather, all methods can be applied, while for mineral tanning the options are reduced to the application of slice dye with or without the use of a filleting iron.
- Dye :
The dye can be water-based, known as "water-based". The colouring is less vivid than an alcohol-based dye. They often have less brilliance and a shorter life span.
Alcohol-based stains are very penetrating, with bright colours and good durability. There are also oil-based dyes which have the advantage of nourishing the leather, facilitating pigment penetration and evening out the colour.
These can be applied with sponges, pads or also with a special pen for edge dyeing.
- Burnisher :
A small wooden tool with gutters used to polish waxed leather edges to make them smooth and to protect them.
- Gum arabic and gum tragacanth :
They allow you to smooth vegetable tanned leather slices and give them a smooth and shiny finish.
What is the difference between gum tragacanth and gum arabic?
Gum Arabic and tragacanth are obtained by the same process but are not derived from the same sap. Unlike gum tragacanth, gum arabic is water soluble, which explains why it is much more liquid. Both gums are applied in the same way, gum arabic gives a slightly darker result.
Which tools for leather embossing?
Our experts' advice:
Have a table with a central leg if possible, it is imperative to have a very firm surface, otherwise the embossing will not be strong enough and the mattress may bounce back and mark the leather in an undesired place
- Granite block :
This granite block will absorb the vibrations.
- Embossing mallet :
It is used to hit the stamp when embossing or hammering.
- Swivel :
This tool can be with a metal or ceramic blade. It can be used to incise leather, and to draw circles, angles and curved lines.
- Roller claw and embossing wheels :
Tools for drawing patterns.
- Stamp :
These are small metal tools mounted on a stand. Some are used to engrave predefined patterns and others are for custom and bespoke designs.
Our experts' advice:
Knurling wheels, embossing wheels and mattresses should be reserved for natural vegetable leather (without colour). You will be able to highlight your work thanks to the dyes applied afterwards.
- Modeller, plotter and stylus :
These tools will allow you to carry out various works on your leather pieces: sculpture, embossing, modelling.
- Wooden shaper and burnisher :
These tools are used to make a parallel line. The burnisher is also used to erase certain defects.
Our experts' advice:
The shaper and the smoother can be used by going back and forth to make a parallel line, so the leather is heated and will take less dye.
Discover here our YouTube videos made in our workshop showing you our techniques: leather marking, leather sewing, leather cutting & accessories fitting.